
Run Jupyter Lab on Google Colaboratory
Introduction
It’s been quite some time since we wrote on any “engineering-like” topic. As we all want to stay efficient and productive, it is a good time to revisit Google Colaboratory.
Google Colaboratory, or Colab for short, has been a great platform for data scientists or machine-learning enthusiasts in general. It offers a free instance of GPU and TPU for a limited time plus it serves a prettifiied version of a Jupyter notebook. It is a great combination of variouofmaller or mid-size projects.
Unfortunately, it comes with certain limitations. The biggest ones are the lack of storage persistency, as well as being sort of confined to a single document. Both limitations complicate the development and make working with multiple files less straightforward.
While some good solutions have been developed by the community (including my previous work here and here), many of us are still on the lookout for something like a “data studio” aka Jupyter Lab.
In this article, we will show how to install and run a Jupyter Lab instance on the Google machine through Colab, turning it into a custom solution with Jupyter Lab frontend and GPU/TPU backend for free. What is more, the approach presented here is generic and will allow you to other services such as Flask as well. It differs from solutions presented here or here, as they show how to connect the Jupyter Colab frontend to a local instance. Here, we will do the exact opposite, so stay on!
General idea
The main idea is to utilize the server that resides behind the Colab notebook, and uses its backend powers, but replacing the frontend. For it to work, the steps go as follows:
- Tap to the server behind the notebook.
- Install all the packages we need (e.g. Jupyter Lab).
- Establish a communication channel.
- Connect to it and have fun.
Getting started
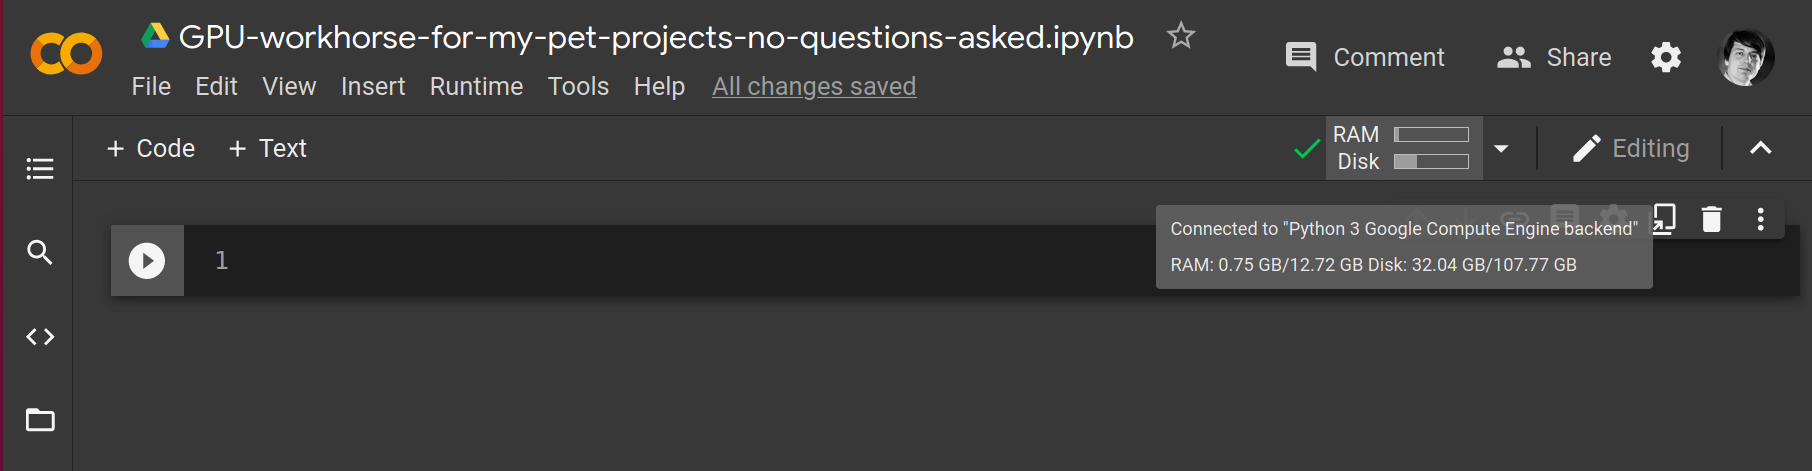
Go over to https://colab.research.google.com to start a new instance, connect to it, and wait for the resources to be allocated. If you want, now is the time to switch the backend to either GPU or TPU (unless you want to repeat all the steps).
Preparing the workspace
The first “hack”
Now, we need to go deeper and talk to the machine behind the notebook rather than with the notebook itself.
The standard way to interact with the shell underneath is to prefix bash commands with !
(e.g. !ls -la).
However, it may generate some problems later,
so it is better to use an alternative way, mainly execute
1
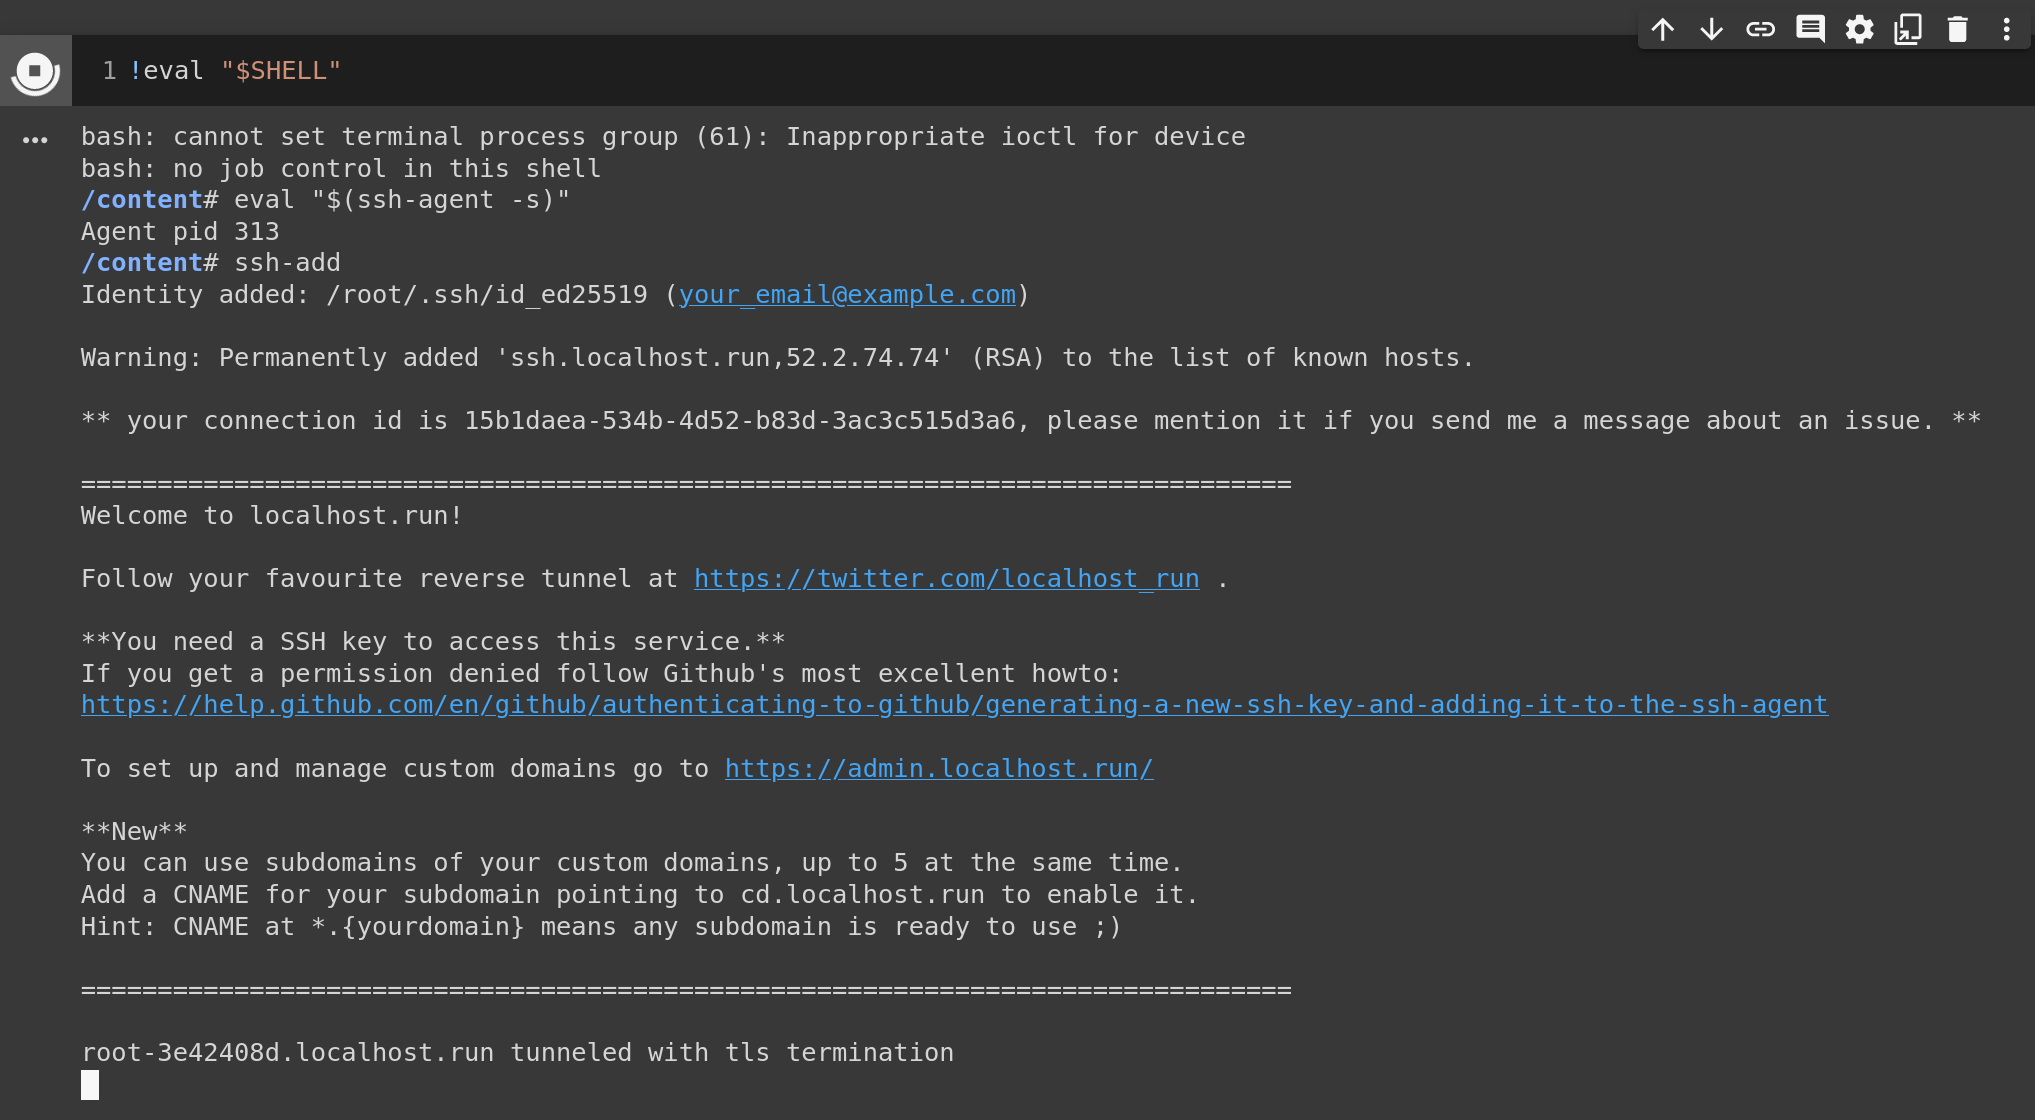
eval "$SHELL"
in a cell, which will let us communicate directly with the console behind.
Installing Jupyter Lab
Next, we install Jupyter Lab or any other thing for that matter. Natively, Colab does not have it installed, which you can confirm by executing:
1
2
3
4
5
6
7
8
9
!pip list | egrep jupyter

# output
jupyter                       1.0.0
jupyter-client                5.3.5
jupyter-console               5.2.0
jupyter-core                  4.7.0
jupyterlab-pygments           0.1.2
jupyterlab-widgets            1.0.0
1
2
3
4
5
6
7
8
9
10
11
12
13
!pip install jupyterlab
!pip list | egrep jupyter

# output
jupyter                       1.0.0
jupyter-client                6.1.11
jupyter-console               5.2.0
jupyter-core                  4.7.0
jupyter-server                1.2.2
jupyterlab                    3.0.5
jupyterlab-pygments           0.1.2
jupyterlab-server             2.1.2
jupyterlab-widgets            1.0.0
So now, we have all we need when it comes to the Python environment, but we still need to expose it outside of the notebook. For this, we will do the so-called reverse ssh tunnel.
Reverse SSH tunnel
The reverse SSH tunneling allows using the existing connection between two machines to set up a new connection channel back from the local machine to the remote one. As this article explains:
Because the original connection came from the remote computer to you, using it to go in the other direction is using it “in reverse.” And because SSH is secure, you’re putting a secure connection inside an existing secure connection. This means your connection to the remote computer acts as a private tunnel inside the original connection.
Now, as per the vocabulary used by the article, the local machine is actually the Google server that runs Colab. It is this machine’s port we would like to expose to the outside world. However, as we don’t know the outside address of our local machine (or the “remote” one as per the article’s vocabulary), we use a third-party service, namely http://localhost.run/.
This solution was suggested by haqpl, who is a professional pentester and a friend of mine.
It acts as both the end to the reverse SSH tunnel and a normal HTTP server, allowing us to use it as a bridge in communication. In other words, the service completes the SSH tunnel on one end, and an HTTP server on the other connecting our local PC to whatever service we run on Colab.
Generate a public key
Before we start, there is one thing we n ed to take care of. We need a key pair to secure the SSH channel without a password.
This is the easy part. Detailed instructions can be found on GitHub. For us, it is enough we execute the following commands. Don’t worry about a passphrase. Just hit enter.
1
ssh-keygen -t ed25519 -C "your_email@example.com"
By default, the keys are stored under /root/.ssh/id_ed25519.pub.
Next, confirm we have the ssh-agent and register the key.
1
2
3
4
5
eval "$(ssh-agent -s)"
ssh-add

# expected response
Identity added: /root/.ssh/id_ed25519 (your_email@example.com)
At this point, we are ready to test the tunnel.
Test the connection
To initialize the connection, we need to pick a port that is unlikely to be used
by the system already. For example 9999. It’s a nice number, isn’t it?
Then, the command to execute will map this port to port 80 (the standard port for
HTTP connection).
Additionally, we need to make the system turn a blind eye to who the host is.
Hence the -o flag.
1
ssh -o StrictHostKeyChecking=no -R 80:localhost:9999 ssh.localhost.run
If all goes well, the last line of the response should give you the URL of where to point your local machine to.
However, when you copy-paste it to your browser, the most likely response you will get
is Something went wrong opening the port forward, check your SSH command output for clues!.
This is OK, as there is really no service running at this port (yet).
Let’s start a small python server under this port (or change it if you used it before).
1
python -m http.server 9999 & ssh -o StrictHostKeyChecking=no -R 80:localhost:9999 ssh.localhost.run
When the connection is established, you should be able to browse through the files on Colab in your browser, seeing lines like this:
1
2
3
4
5
===============================================================================
root-be893e68.localhost.run tunneled with tls termination
127.0.0.1 - - [14/Jan/2021 22:39:21] "GET / HTTP/1.1" 200 -
127.0.0.1 - - [14/Jan/2021 22:39:22] code 404, message File not found
127.0.0.1 - - [14/Jan/2021 22:39:22] "GET /favicon.ico HTTP/1.1" 404 -
printed out in the notebook.
This is a very good sign!
It means that if we can run python -m http.server, we can just as well
replace it with Flask or Jupyter Lab,
and this is exactly what we are about to do!
The final hit
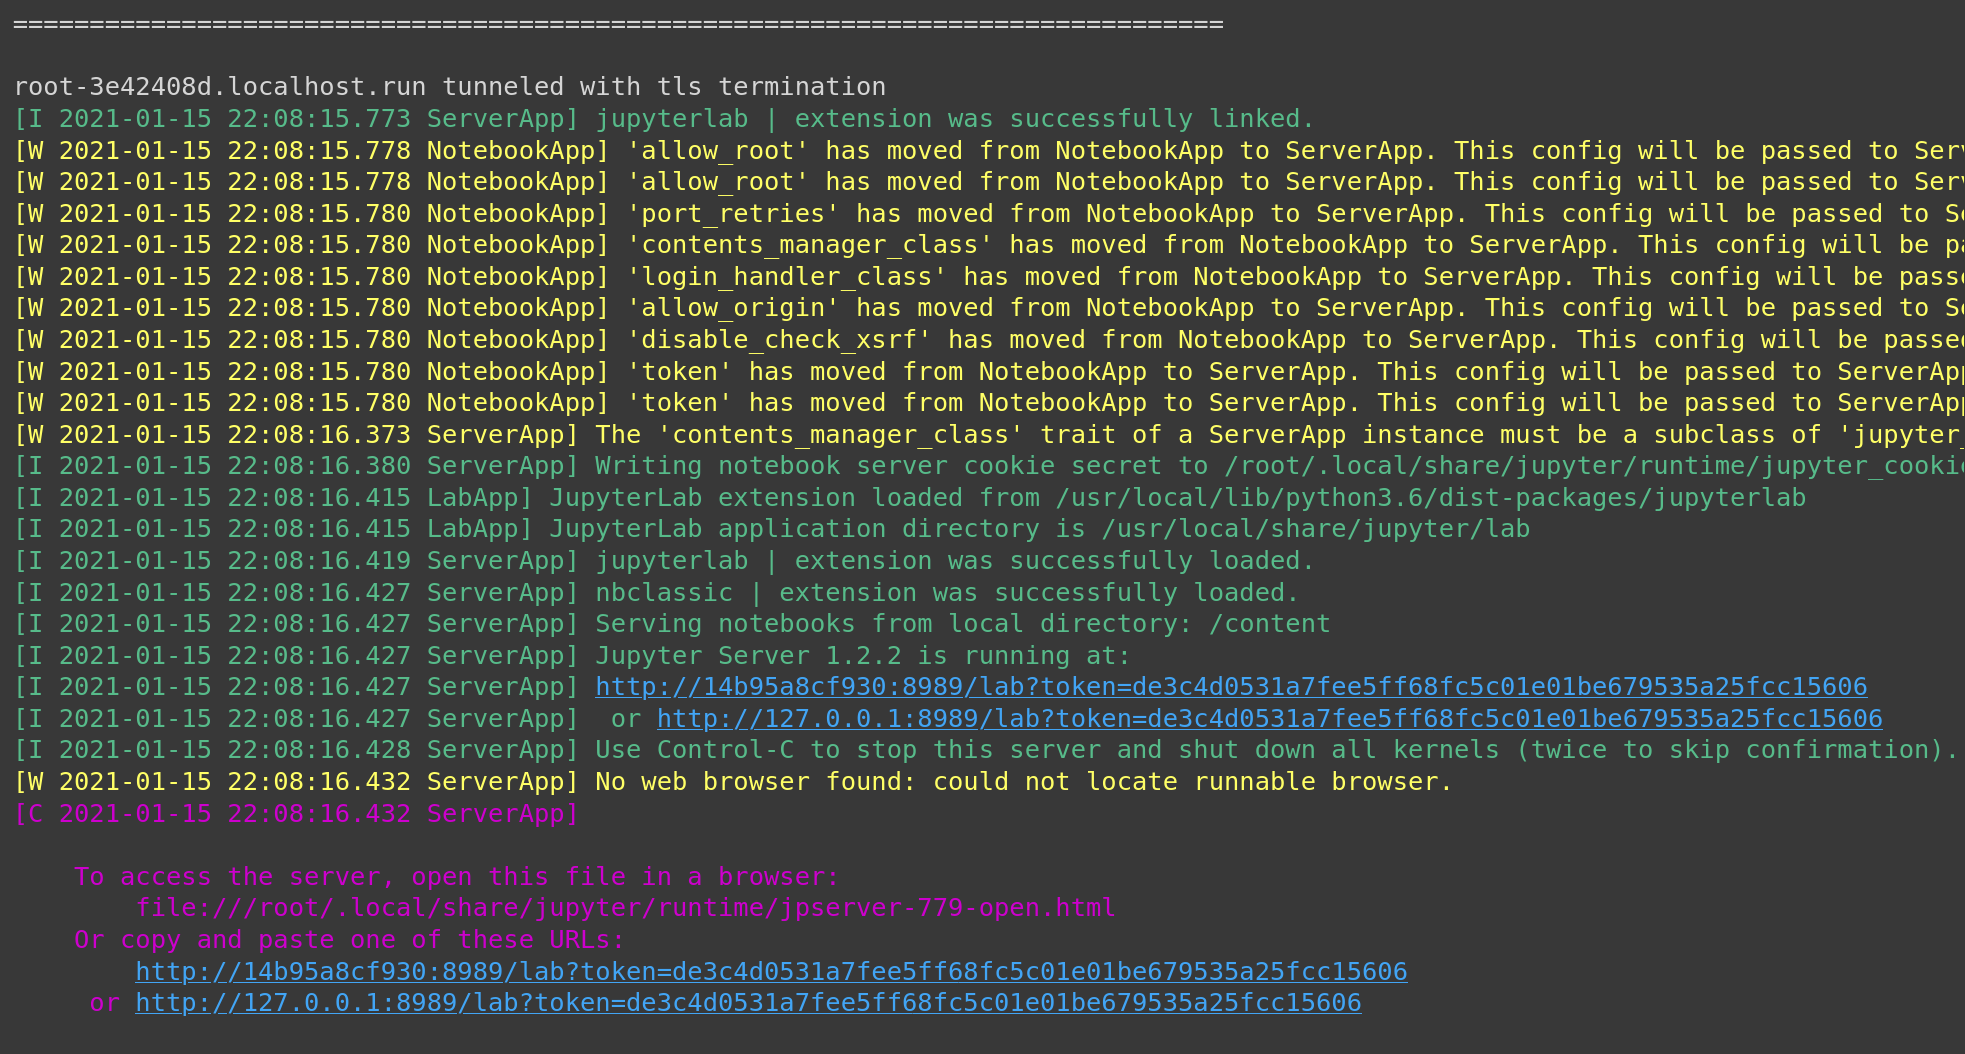
Now, let’s change the port and start the Lab instead. The command to run is a bit lengthy, and the reason is that we must pass the necessary arguments:
--ip=0.0.0.0to stress this is a local machine (local to Colab).--port=8989, of course,--allow-root, otherwise Lab will start but refuse to communicate with you.
1
jupyter lab --ip=0.0.0.0 --port=8989 --allow-root & ssh -o StrictHostKeyChecking=no -R 80:localhost:8989 ssh.localhost.run
Again, if all goes correctly, then by virtue of the SSH tunnel, we should access the Jupyter Lab externally using the URL issued earlier. The only add-ons are will be the parameters and the token you can read from the response.
Take the URL given and copy-paste it to another tab in your browser.
Remember to replace the localhost:8989 with the URL received earlier.
Conclusion
This is it! The combination of Jupyter Lab and Google Colaboratory that we created thanks to reverse SSH tunneling (and haqpl), gives probably the ultimate freedom, as now you have simplified access to upload/download of your files, convenience of organizing your project across multiple files, and support of really powerful hardware to your calculations… for free.
One word, before we go… Remember that despite the SSH channel is secure,
the session is open to whoever knows of your URL.
If, as a part of your work, you decided to attach e.g. Google Drive to the machine,
there is a chance someone may access your files even without you knowing.
So please, use this “hack” carefully.
Alternatively, you may consider using a virtual private server (VPS)
to replace the localhost.run and give exclusive ownership of the endpoint.
Thanks for reading! Please, let me know in the comments in case you stumble across problems or have any suggestions. Good luck and have fun!