Eye o'Spy
Dynamic DNS
There is still one big problem with the system. Although, we can get the emails when something happens in the room, we can watch the video stream real-time only within the local area network (LAN). What is more, it would make sense to be able to activate/deactivate Motion from anywhere and at anytime, not to mention remote system maintenance.
In order to overcome the issue, we need ensure three things:
- Enable the so-called DMZ host.
- Purchase some dynamic DNS service (and domain name).
- Associate our IP address with the domain name.
OK. Let’s go one by one.
DMZ Host
The idea is to reach out with the stream beyond LAN, so the very first
things to do is to enable a specific address (PiIP) to be
accessible from outside of LAN. This is typically configured inside of
router, often in the advanced settings. In my case, the access to the
router is restricted by the internet provider, but the configuring DMZ
is still possible through online interface.

The important thing is to match the IP address specified in the field (however you configure your network) with the static IP associated with Raspberry. This will allow any external traffic to be redirected to Raspberry, especially if more than one device exists within your LAN.
Dynamic-DNS and Domain Name
The IP addresses change constantly. Therefore, we need to set up some reference point in order to find our Raspberry from wherever we are in the internet. So far, we know that as soon as we get to the right address, our router will redirect us to it. But how do we know where to look?
In order to solve the problem it is good to get a domain name. It should be something easy to remember for you, but not necessarily for anybody else… and by the way, do not take it as a security measure, but a practicality rather. There are many “places” to get the domain name from, often for free, so I will leave it up to you.
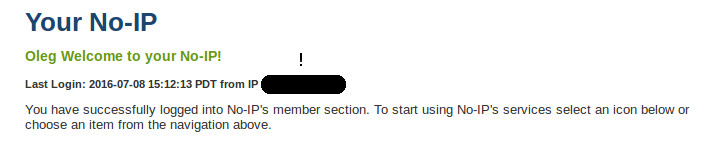
Next, we need to purchase some dynamic-DNS service. I use NoIP, which is inexpensive, but easy to configure. After you create an account and purchase a plan, make sure you look at the welcome page, as it displays the address that you log in from. If you do not sit at home when working on this project… oh, for the first time I guess you have to. Keep this external address in your mind for now.
Associate Domain Name
When logged in to NoIP, you can press on “Manage Hosts” to associate your domain name with the external address you have just learnt about. That is it! Now, give it one or two days for the information about the new address to propagate through the servers. If you have done that correctly, you will be able to access your Raspberry from anywhere by typping:
ssh www.yourdomain.netjust as you were able to do so with ssh 192.168.xx.xx.
The final evidence is, of course, watching the video stream with the
browser by setting www.yourdomain.net:8081 in the
address field (8081 is just the port that is used as an example. Yours
might be different.)